Base
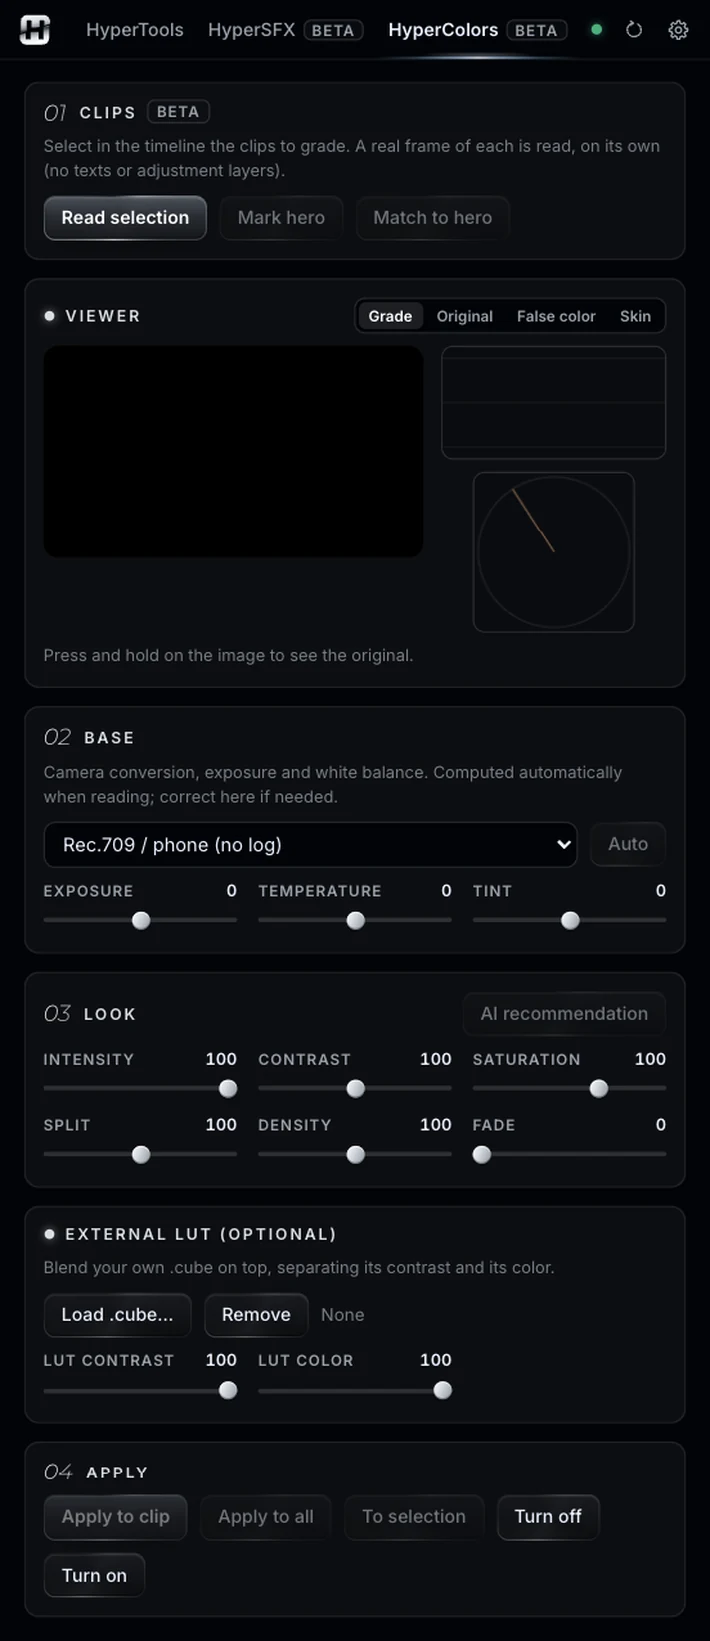
Camera profile (log or Rec.709), exposure, temperature and tint, calculated for you. Correct it if needed.
A base correction, looks adapted to your footage, and everything applied with Lumetri Color.
Illustrative animation. Pause it with the button at the bottom right.
Sound familiar?Ten clips, two cameras, one too blue.
Ten clips from two different cameras, one overexposed, one too blue, and the client wants “a film look”. If you are not a colorist, matching them and giving them character is trial and error in Lumetri.
Select the clips, or an adjustment layer, and press Read selection: HyperColors analyzes a real frame of each one, on its own, without texts or layers on top.
Base, hero, look, and apply.
Camera profile (log or Rec.709), exposure, temperature and tint, calculated for you. Correct it if needed.
Mark the reference clip and press Match to hero: the others move closer to it.
Ten looks adapted to your frame, with intensity, contrast, saturation, split, density and fade. Or AI recommendation: the AI looks at the frame, picks a look and values and tells you why, without touching the clip.
Optional: blend your own .cube, separating its contrast and its color.
HyperColors bakes the base and the look into a .cube LUT and loads it into Lumetri Color, on the input LUT. Apply to clip, Apply to all (each with its own base) or To selection, for example an adjustment layer over your clips. Turn off and On keep the grade without deleting it.
Switch between Grade, Original, False color and Skin, with an RGB waveform and a vectorscope with the skin-tone line. Hold on the image to see the original.
One job: two cameras, one look.
Drag over the animation to compare. In Premiere the look is baked into a LUT and goes to Lumetri Color.
Select the clips from both cameras and press Read selection.
Pick the best shot, press Mark hero and then Match to hero.
Try AI recommendation or choose a look by hand, like Teal & orange.
Apply to all: the same look on every clip, each with its own base.
Color is the last pass, so it pairs with whatever comes before.
Same panel, same license. Every tool works on its own and hands off to the next.
Edit by typing: one-cut summaries, topic clips, multicam podcasts.
02Captions you don’t have to redo, and text you can animate by hand.
03Animated captions inside Premiere, line by line and editable.
04Clean the voice, split the music, cut silences on the waveform.
05Make text follow whatever moves, or stabilize a shot.
06Split screens from your clips, without doing the math.
07The one-click buttons Premiere is missing.
08Your own sound library, placed right on the hit.
Nine tools.
One license.